
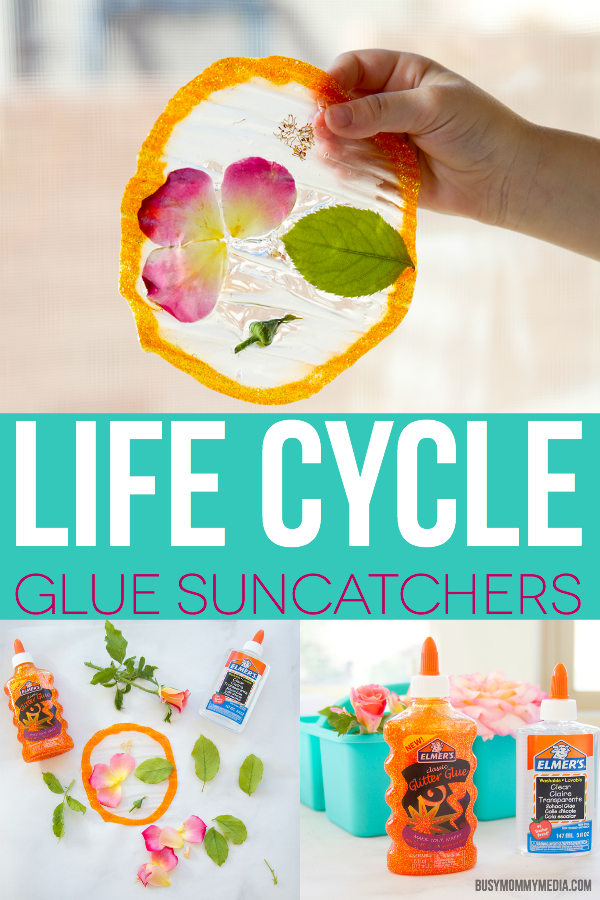
STEM Activity – Life Cycle Glue Suncatchers
This post is part of a social shopper marketing insight campaign with Pollinate Media Group® and Newell Brands, but all my opinions are my own. #pmedia #GetCraftyWithElmers http://my-disclosur.es/OBsstV
My kids love to learn about the world around them and finding ways to combine STEM activities with art is always their favorite. These Life Cycle Glue Suncatchers are so much fun to make and they are created using Elmer’s Glue, which we stocked up on at our local Michaels. With this project, kids can learn about the lifecycle of flowers (or anything else you’d like to focus on).
As the mother of 3 girls, I’m always looking for ways to encourage an interest in STEM activities. When my boys were younger, they naturally gravitated towards STEM activities and it felt like they had so many opportunities to develop their interests. After having three girls in two years, it has been a bit of an adjustment being the mother of girls. As they have gotten older I’ve realized how important it is to make sure they have at least as many opportunities to focus on STEM skills as my boys did.
Growing up with three science loving brothers has made it a bit easier, because they want to be involved with whatever their brothers do. It’s been a struggle though, seeing how many toys and products that are marketed to girls don’t push them to get excited about STEM careers or hobbies. As a working mom, I want to make sure my girls can take any opportunity they want in the future to have the career that will give them their best life. They may not ultimately go into a STEM career, but I want to make sure they have good experiences with science, technology, engineering, and math so that they don’t limit their career choices.
All my kids love craft projects, and glue suncatchers are one of our favorite things to make. You can customize this project to fit whatever you want to and there are endless possibilities.
These Life Cycle Glue Suncatchers are such a fun way to learn about life cycles while incorporating an artistic element. These look gorgeous when they are done, which is a bonus, because my kids always love putting their projects on display once they are done.
Our first stop before jumping into this project was a visit to Michaels. They always have everything we need to complete a project and I’ve been hooked on them since my days as a teacher and then as a homeschooling mom. Now that my kids are in school again, we visit often to have supplies on hand for after-school projects and activities to supplement the work they are doing at school.
My kids love going to Michaels with me because they have so many fun and easy projects that are perfect for beginning crafters (and moms who may be less-than crafty but have DIY loving kids). We stocked up on everything we needed to make this project, as well as some other supplies for things that we want to do in the future.
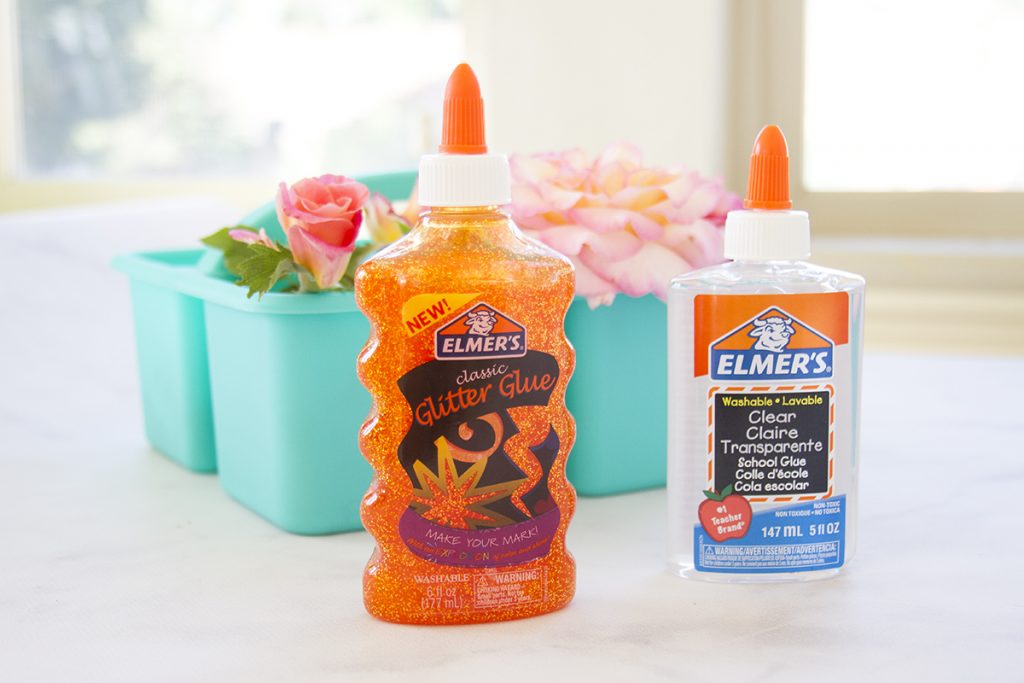
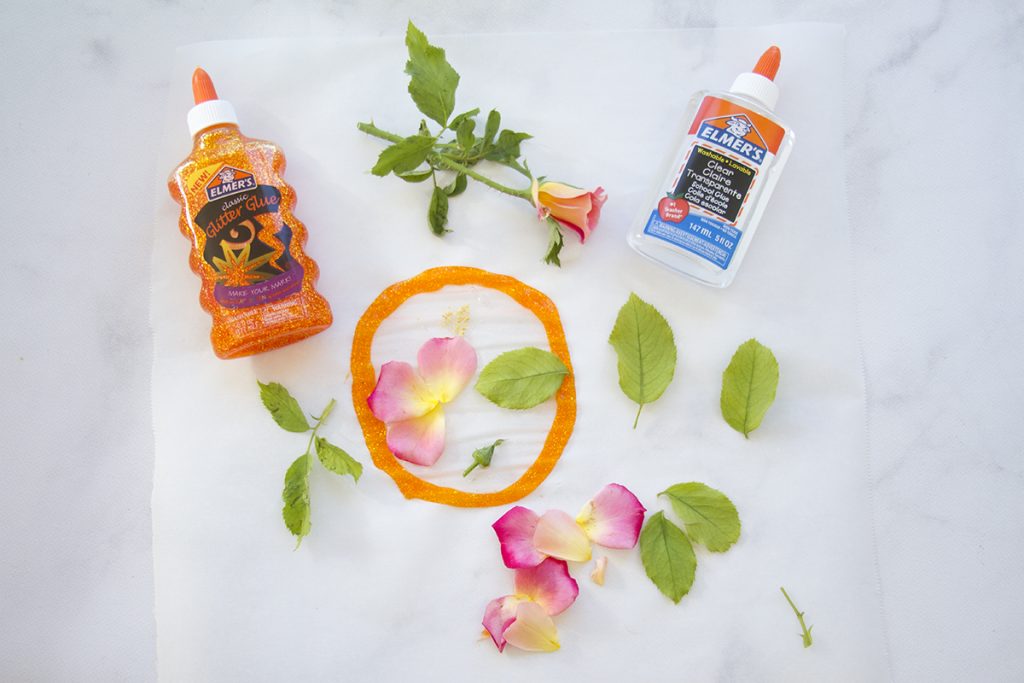
The key ingredient in this project is Elmer’s Glue. We always keep it on hand because it can be used for so many STEM projects. For this project, we grabbed Elmer’s Clear Glue and the Classic Glitter Glue. I haven’t used the clear glue before but I think it’s my favorite now.
Life Cycle Glue Suncatcher Materials Needed
- Elmers Clear Glue
- Elmers Classic Glitter Blue
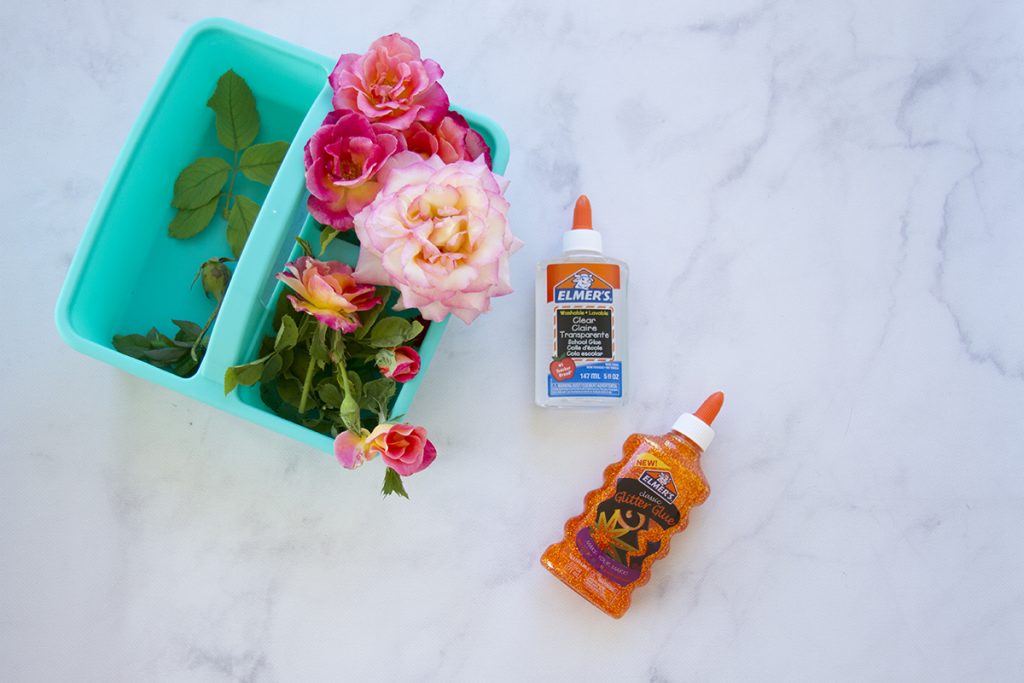
- Parchment paper
- Flower parts – Seeds, leaves, buds, petals
Life Cycle Glue Suncatcher Instructions
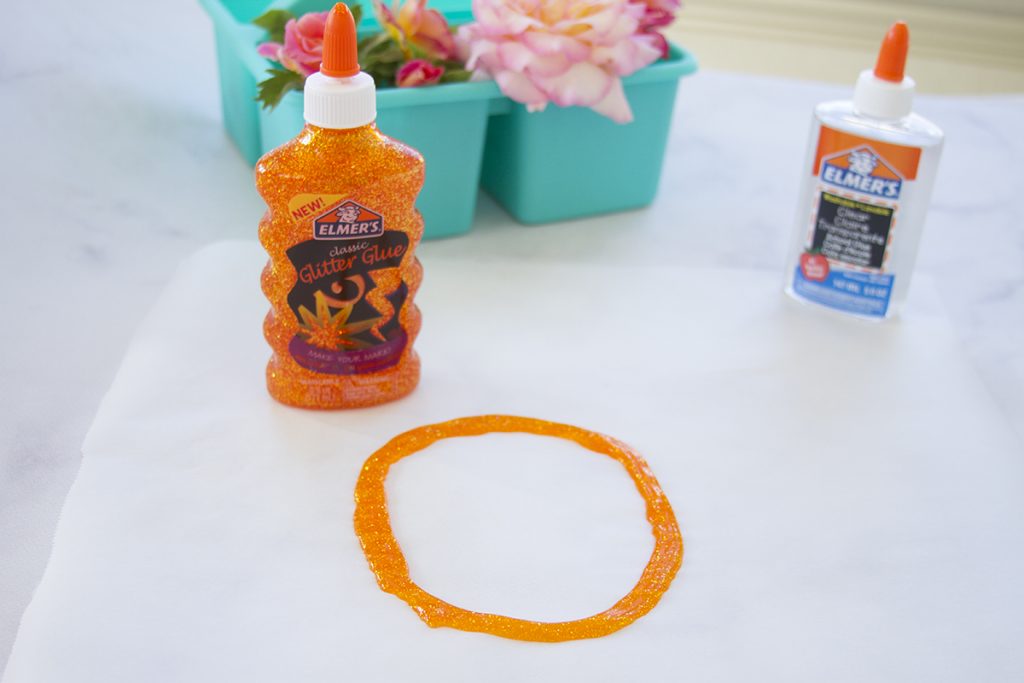
Lay out a piece of parchment paper on your work space. Use the Elmer’s Glitter glue to create a circle as the outline of your suncatcher. I found that the glitter glue was a bit thicker and dried faster than the clear glue so this made the perfect border as well as helped stop the suncatcher from spreading.
Fill in the center of your circle with Elmer’s Clear glue. Be careful not to make too thick of a layer or it will take a long time to dry. This glue spreads a bit on its own, so I found that going slowly helped me get an even layer.
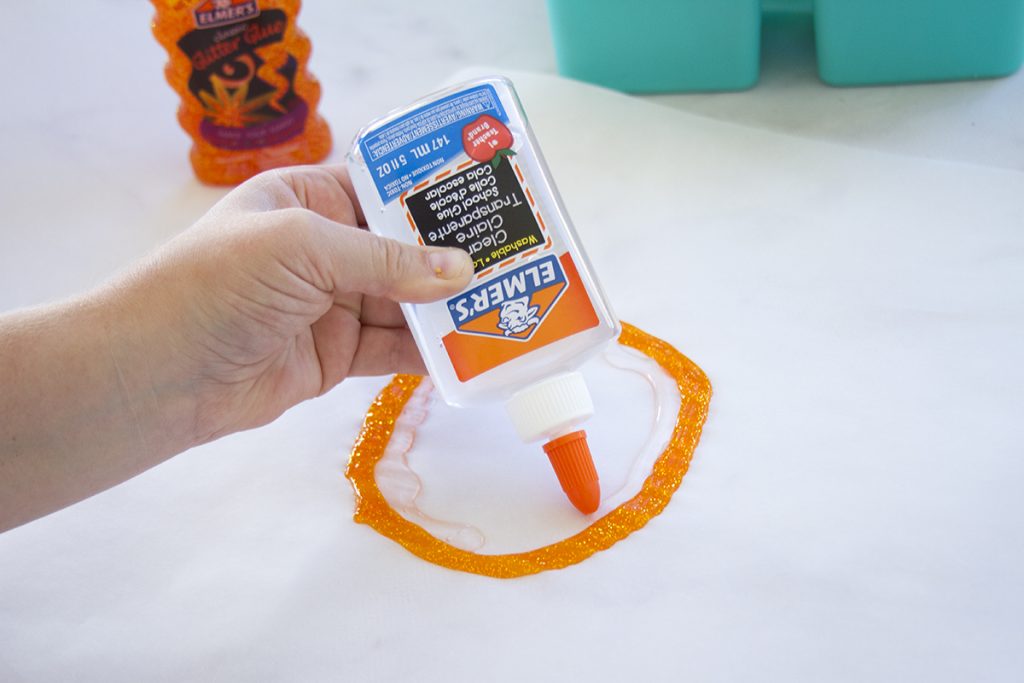
Once you have a solid layer of clear glue inside of your glitter glue circle, you can begin by adding your lifecycle elements.
We started by taking about what a lifecycle is. There are some great videos on YouTube that can focus on the level your kids are at. Since my daughter is in first grade, I kept it fairly low-level, but you could easily adapt this STEM activity for older kids.
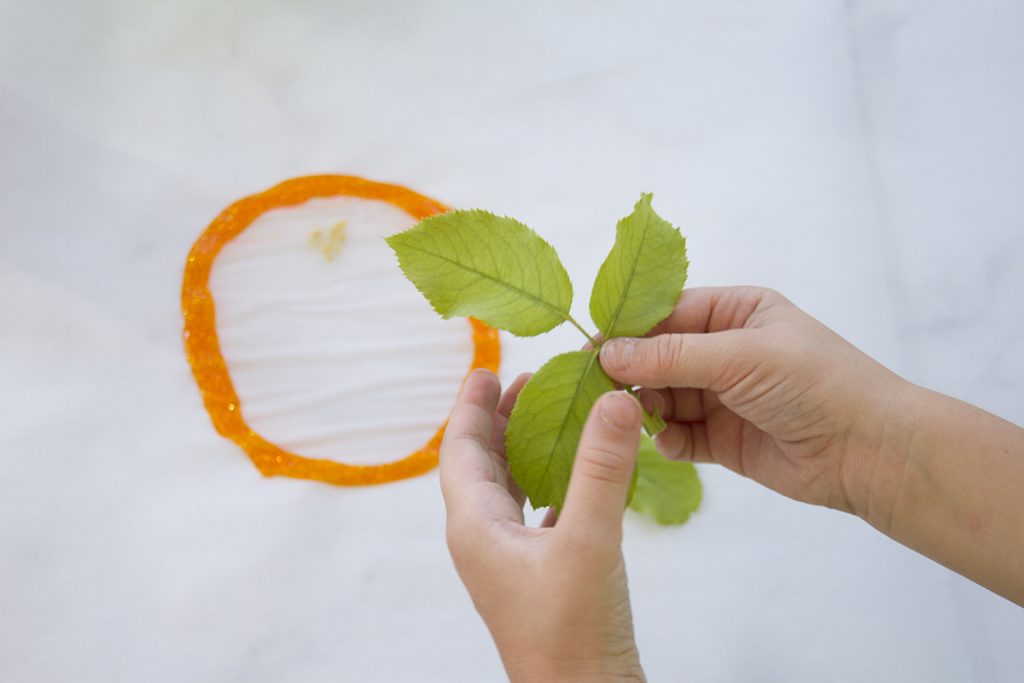
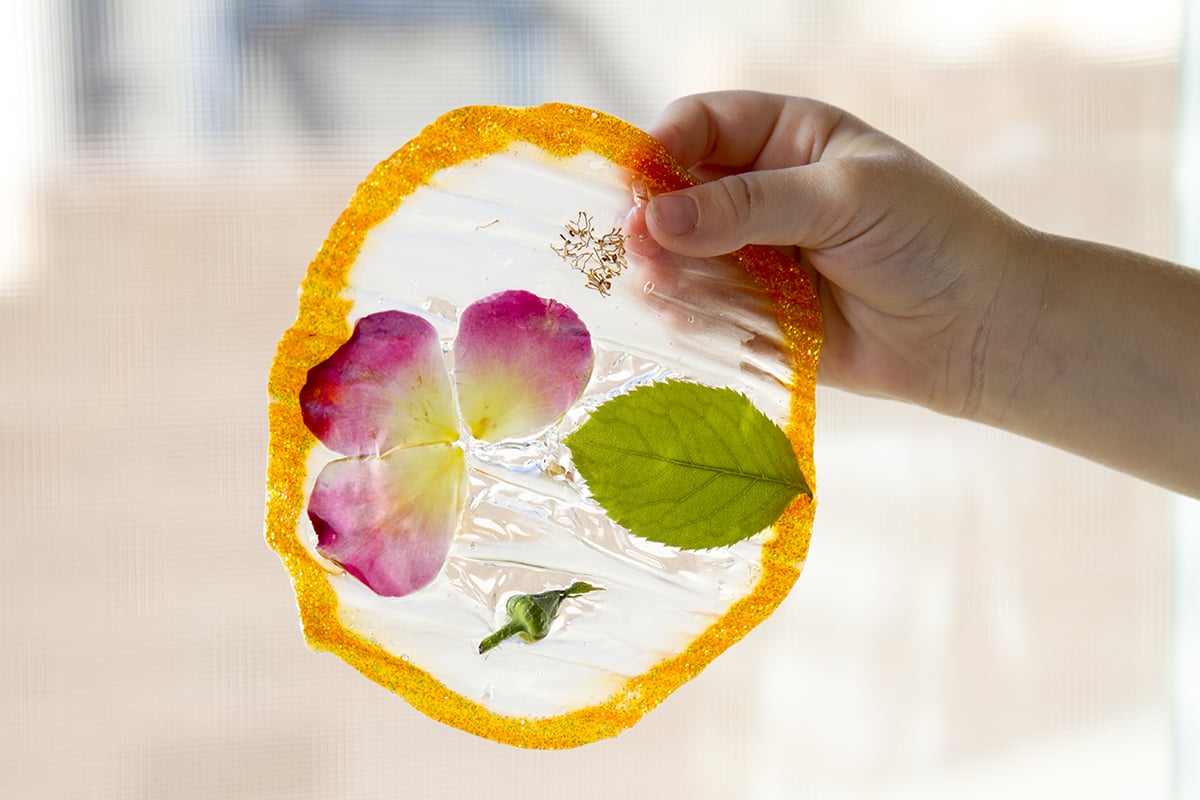
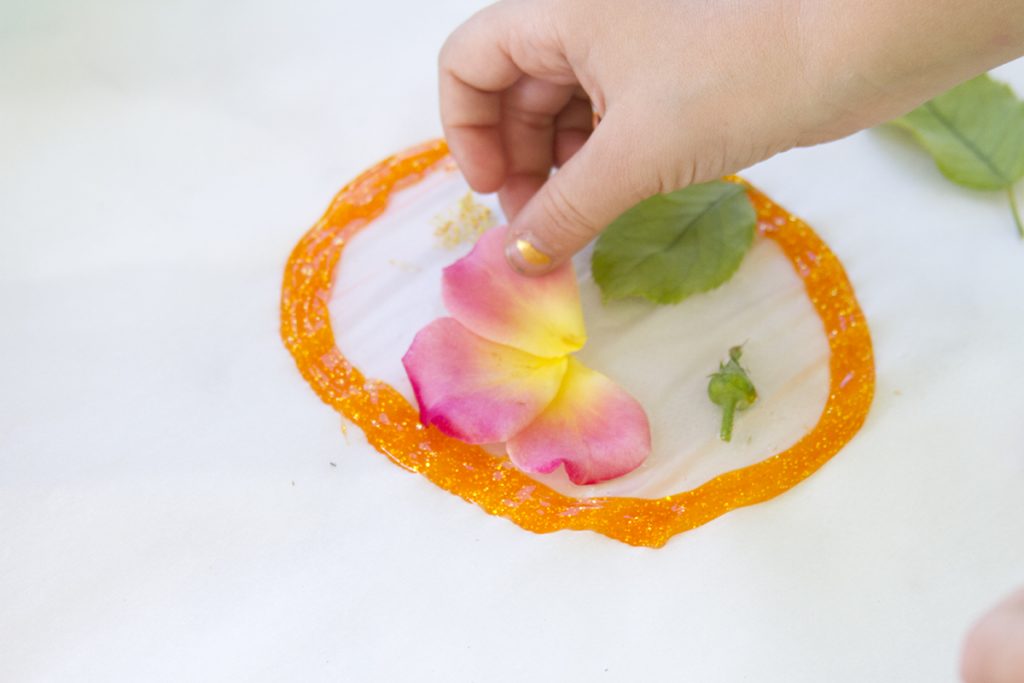
We started by adding rose seeds to the top of our suncatcher. Then we picked some rose leaves off our bush that we have in our yard. My daughter carefully pulled the leaves off (after I removed the thorns) and then added one leave to her suncatcher.
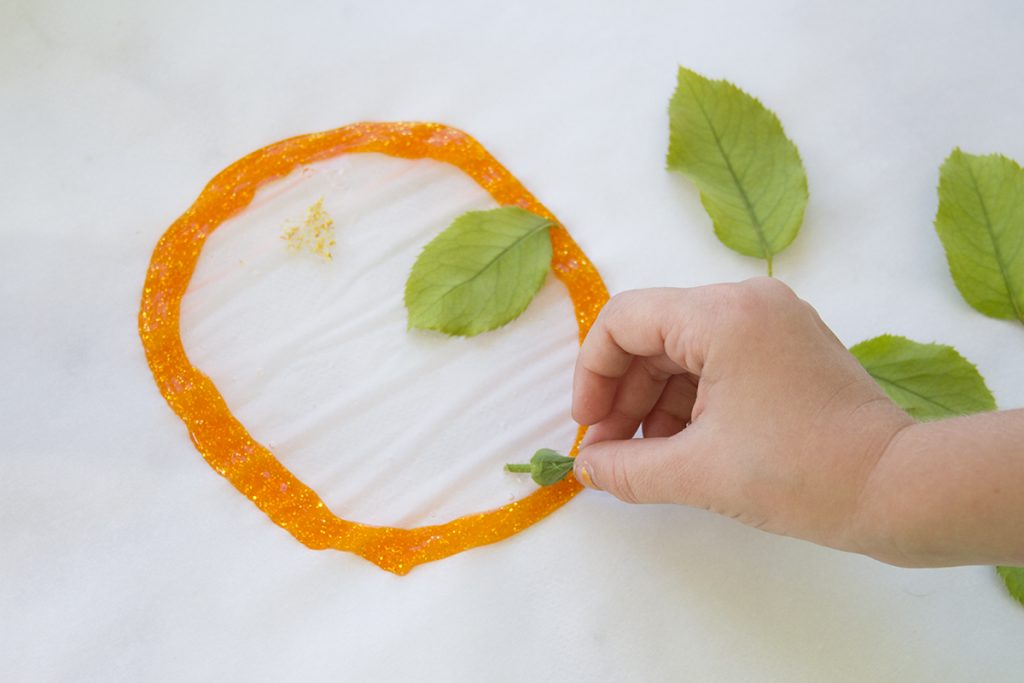
Next, she added a tiny rosebud. We talked about how roses start out as tiny buds that grow after the plant has grown leaves.
Our next step was to remove some petals from a rose and add the petals to our suncatcher. Let your kids display these any way they’d like. We chose to do a circular lifecycle so we could see each step in the lifecycle of a rose, but a deconstructed lifecycle for younger kids would be fun too.
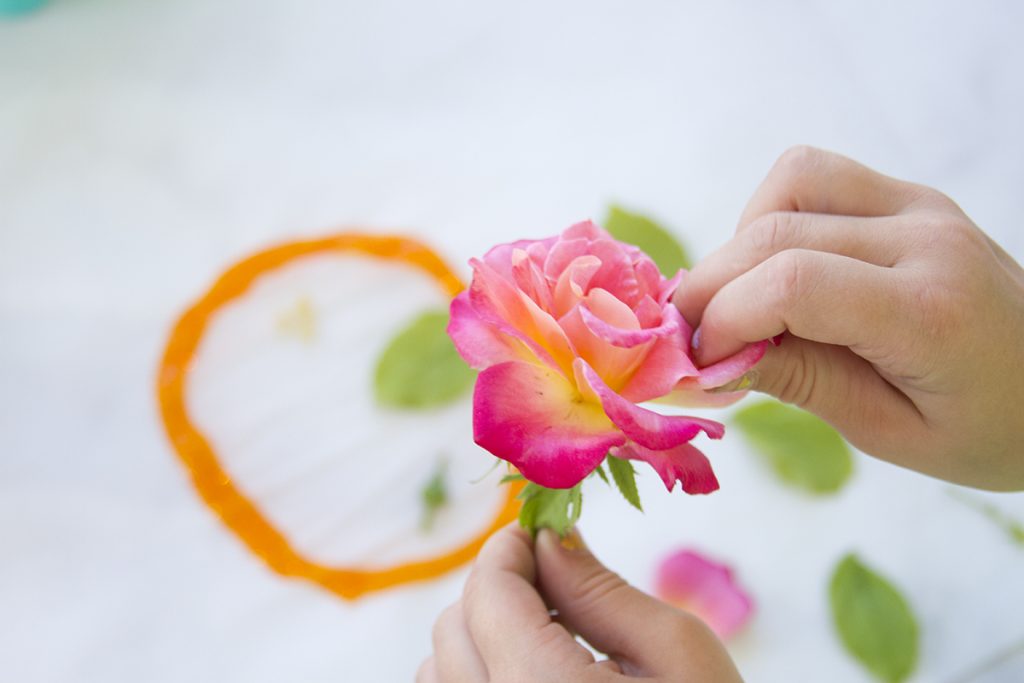
My daughter added her petals to the suncatcher to finish it off and then we left it to dry overnight.
The final part of a lifecycle of a rose is a rosehip. They are too heavy to include on our glue suncatcher so we just looked at one and talked about it.
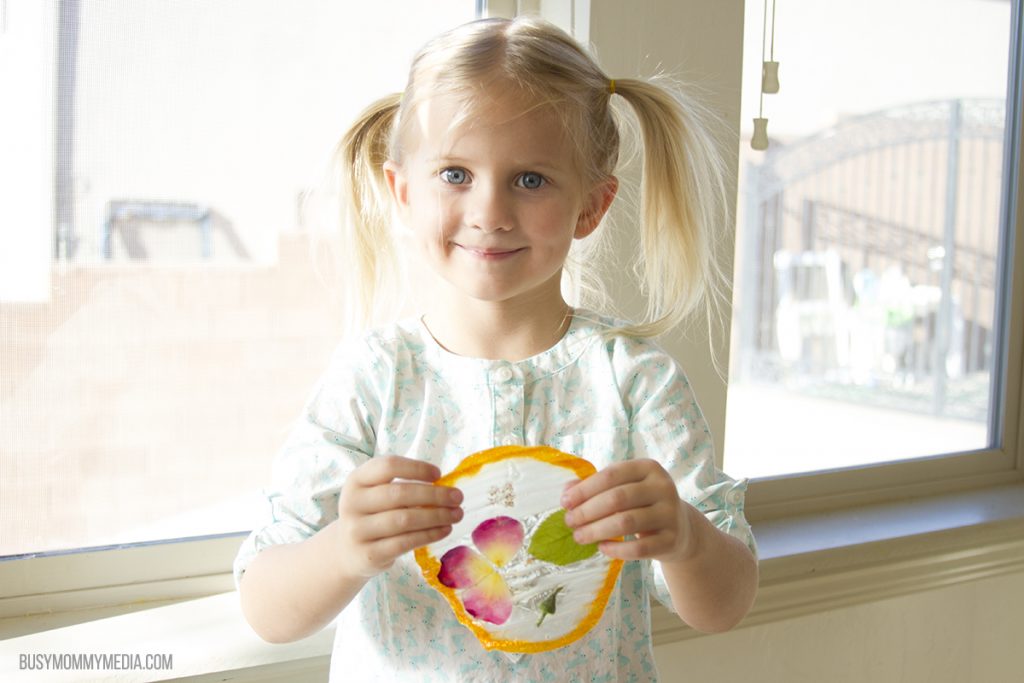
After leaving it overnight, we gently peeled the suncatchers off the parchment paper and hung them in our kitchen window to display.
As a follow up, we’ll spend some time this week learning more about life cycles and talking about the life cycles we see on a daily basis.


Fantastic project!!! Thank you for sharing. I know what I’ll be doing with the grandkids this weekend!
Great activity. I just need to buy the Elmer’s glitter glue to get this started with my daughter.